
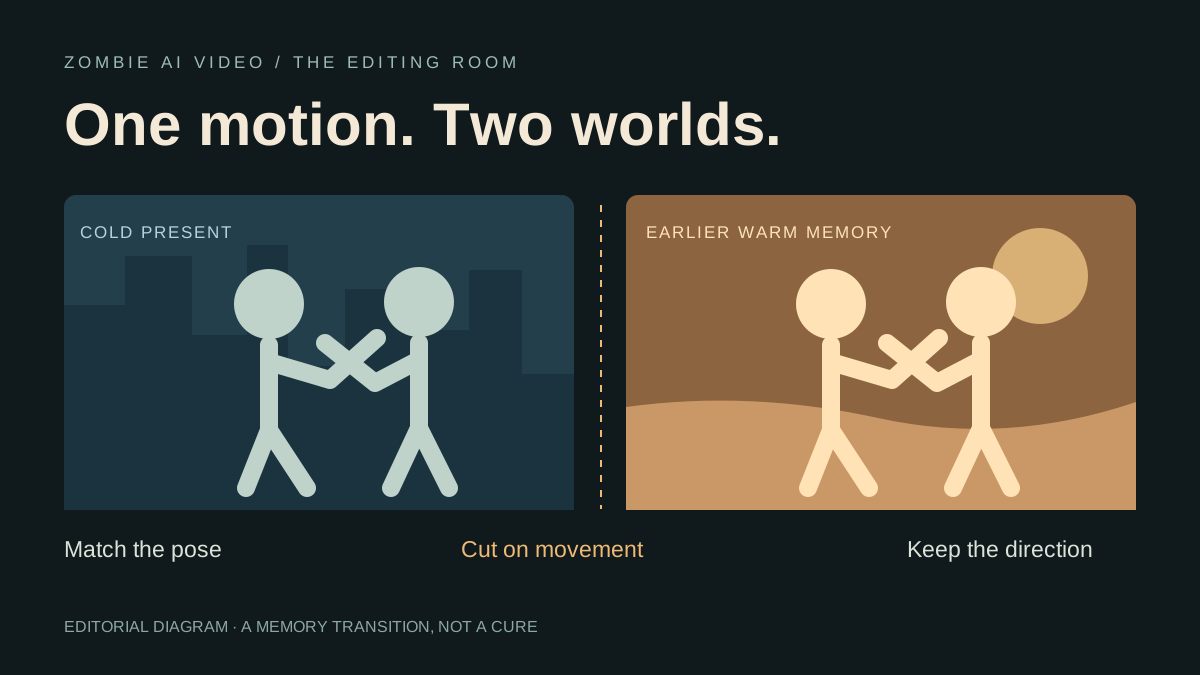
The decisive moment in a zombie love story is the cut that changes what the viewer feels. An empty street, a frightening face, and a tense encounter suddenly give way to sunlight and a familiar person before the change. Make that connection clear, and the story gains an emotional center.
Zombie AI Video builds its prepared story direction around this cold-present-to-warm-memory contrast. Its focused controls keep the creative starting point simple: two photos, a relationship, and a setting. Explore the prepared story workflow, then use this guide to understand the transition and plan any finishing work.
What makes a match cut work?
A match cut connects adjacent shots through a visible similarity: position, shape, action, or composition. For this kind of story, the strongest connection is often the same recognizable subject held in a similar part of the frame while the world changes around them.
The emotional idea is broader than a strict match cut. Two shots can connect through recognition even when their framing differs. Use a close visual match when your available footage supports it; use a clear narrative cut when it does not. Clarity beats a complicated transition.
Start with two worlds that have a reason to connect
The five prepared settings in Zombie AI Video already establish useful contrasts:
- Snow cabin: an icy exterior and an earlier sunlit interior.
- Rainy city: an abandoned wet street and a warm beach memory.
- Empty supermarket: damaged aisles and an ordinary shopping afternoon.
- Deserted highway: a bleak road and a sunny mountain overlook.
- The old home: a weathered living room and an earlier birthday at home.
Choose one setting because it suits the relationship. A family birthday and a couple's beach memory communicate different histories. The nine story ideas provide concrete starting points for partners, adult family members, best friends, and pets.
1. Give the viewer one clear point of recognition
Before the transition, direct attention toward a subject the viewer can recognize. A face, a familiar silhouette, or a pet's markings can provide the connection. After the cut, let that subject remain easy to find.
In a manual edit, inspect the last cold frame beside the first warm frame. If the viewer has to search for the person again, try a nearby frame or a modest crop. Preserve enough space around faces and ears; an aggressive crop can remove the very detail that makes the transition readable.
2. Match placement before chasing perfect movement
Screen position is a practical first target. If the main face sits on the left before the cut, keeping it near the left afterward can make the transition feel deliberate. Similar face size can help too.
Movement offers a second connection: a head turn, an approach, or a change in expression. Exact motion is harder to align, so work with the footage you actually have. The automatic story direction does not guarantee identical camera movement or a frame-perfect gesture across clips.
3. Let the color change carry the time change
Cold blues and muted grays can establish the present; warm golds and natural skin tones can make the memory feel inviting. A direct cut can reveal that contrast with force.
During manual finishing, compare adjacent frames for brightness as well as color. Keep faces readable on both sides. You want the viewer to notice the return of warmth, not struggle with a dark face or a sudden blown-out highlight.
4. Make sound support the turn
A visual transition becomes more coherent when its sound has direction. In your editor, you might reduce harsh ambience before the cut and introduce a quieter, warmer sound afterward. A short pause can also give recognition room to land.
These are editorial options, not soundtrack controls in the generator. Review the audio in your delivered video and use music or effects you have permission to publish. The presence of audio in the showcase does not supply a music license for another video.
What the documented example actually shows
The site's published example lasts 25 seconds, measures 768 × 1344 pixels, and runs at 24 frames per second. Its warm-memory cut begins at 16 seconds, leaving nine seconds for the memory. That is a concrete editorial reference, not a required timing formula.
The example was assembled into six story sections from seven generated source clips, with additional character and setting references, manual selection, and sound editing. It demonstrates that edited production. It is not a direct, unedited output from the automatic two-photo flow.
What the studio prepares, and what you can finish afterward
Zombie AI Video gives you a decisive starting structure. Upload two separate reference photos, choose Partner, Family, Best friend, or Pet, and select one of the five scenes. The studio handles the prepared prompt and generation settings, targeting a story of about 25 seconds.
A custom script, precise cut timestamp, individual camera move, and soundtrack edit are not exposed as user controls. If you want to refine those details, review the completed footage and finish the edit separately. Check the delivered dimensions before cropping for a publishing platform; the documented sample is 4:7 rather than an exact 9:16 export.
For a broader workflow comparison, see the best zombie AI video generators. When your relationship and setting are clear, open Zombie AI Video, check current availability, and build from a story with a strong emotional direction.